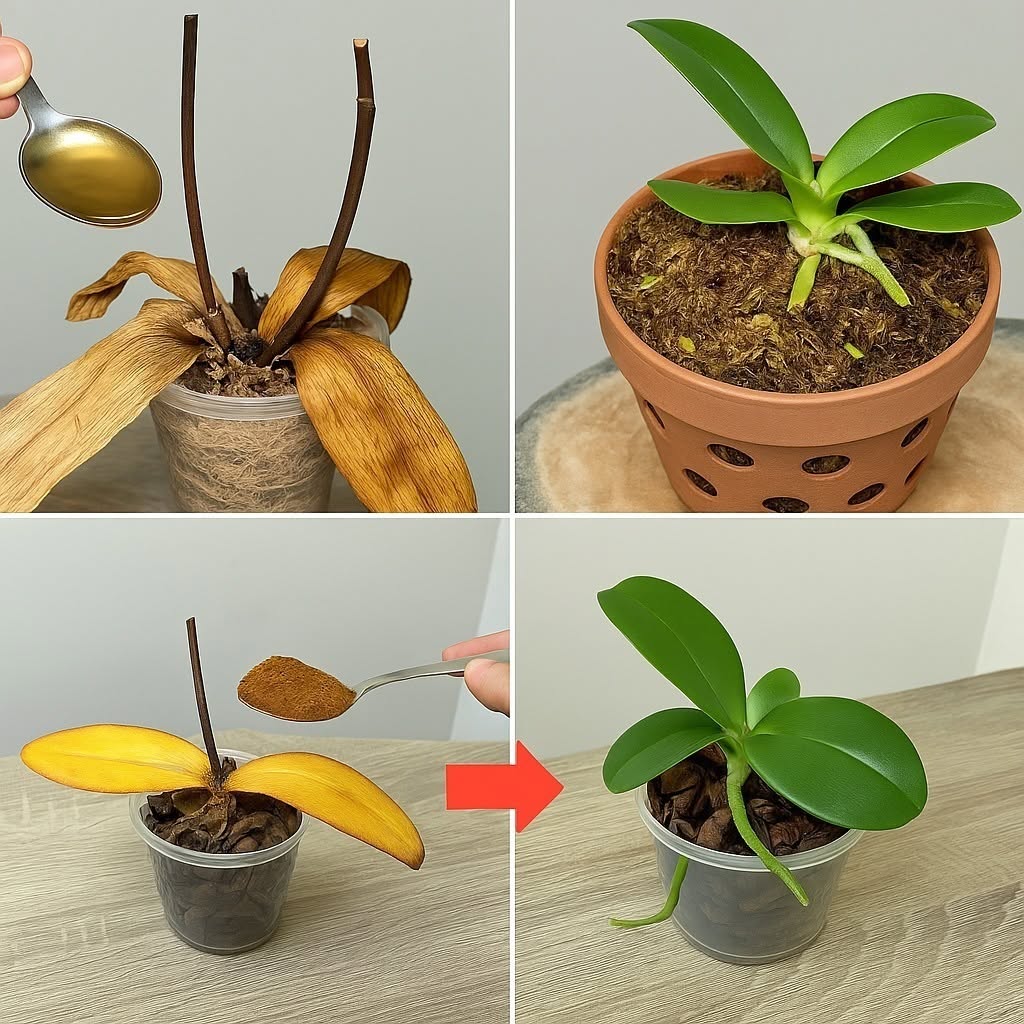
How to revive a wilted orchid: a step-by-step guide
Orchids are delicate and beautiful plants that require careful attention to thrive. However, improper care, such as over-fertilizing, can sometimes lead to root rot, causing yellowing leaves and weakening the plant. If your orchid is suffering from root rot, don't throw it away immediately! By following the right steps, you can save it and help it regain its vigor and health. This guide presents a simple yet highly effective method for restoring your orchid's health.
Identify the problem
If your orchid's leaves are yellowing and the plant seems weak, first examine its roots. Root rot is often caused by overwatering, poor drainage, or fertilization shock from excessive use of chemical fertilizers. Rotten roots are dark and soft and may have an unpleasant odor. Healthy roots, on the other hand, are firm and white or green. Step 1: Remove the damaged roots
To prevent further damage and stimulate the growth of new roots, it is essential to remove all damaged roots:
Carefully remove the orchid from its pot.
Inspect the roots carefully.
Use sterilized scissors or pruning shears to cut off rotten or damaged roots.
Make sure to make clean cuts to minimize the risk of infection.
This process prevents the spread of root rot and encourages the orchid to produce new, healthy roots.
Step 2: Clean and disinfect the roots
After removing the damaged roots, it is important to clean the remaining healthy roots to eliminate bacteria and fungi.
Gently rinse the roots with clean water to remove the soil.
Prepare a disinfectant solution by mixing one teaspoon of baking soda with two liters of water in a saucepan.
Soak the orchid's roots in this solution for 10 minutes. Baking soda has natural antibacterial properties that help eliminate pathogens and prevent rot. After soaking, remove the orchid from its pot and let it air dry for a few minutes before placing it back in.
Step 3: Repotting the orchid in dry moss
For optimal recovery, orchids need a well-aerated, moisture-retaining substrate. Sterile, dry moss is an excellent choice as it absorbs excess moisture while ensuring sufficient hydration for root development.
Take a handful of dry, sterilized moss and place it in a clean, new pot. Position the orchid so that its remaining healthy roots are in contact with the moss.
Gently press the moss around the base of the orchid to secure it.
Don't pack the moss too tightly, as orchids need good air circulation around their roots. Step 4: Creating a recovery environment
To stimulate the growth of new roots and avoid any additional stress:
Place the potted orchid in a cool, shady, well-ventilated location.
Avoid direct sunlight, as it can lead to dehydration.
Do not water the orchid during the first week after repotting to allow the wounds to heal and prevent root rot.
Step 5: Resuming watering
Continued on the next page
After a week, you can water your orchid again:
Submerge the pot completely in clean water for 10 minutes, once a week.
Remove the orchid from the water and let the excess water drain off.
Cover the pot with a clear plastic container to create a greenhouse effect. This helps retain moisture and promotes faster root growth.
Continue watering weekly to keep the moss moist, but not soggy. Step 6: Rice water as a nutrient supplement
As soon as the orchid begins to develop new roots, it needs additional nutrients to strengthen itself. Rice water is an excellent natural fertilizer that provides essential minerals and amino acids, beneficial to the plant's health.
Take 2 liters of water and add 5 teaspoons of rice.
Soak the rice for a few hours so the nutrients can be released into the water. Use this rice water to water the orchid once a week.
Rice water not only provides essential nutrients, but also promotes the growth of beneficial microorganisms in the substrate, thus contributing to the good health of the orchid.
Step 7: Maintenance
For a healthy and lush orchid:
Submerge the pot in rice water for 10 minutes once a week.
Mist the orchid's leaves regularly to keep them hydrated.
Ensure that the substrate remains moist, but never soggy.
Monitor the leaves and roots for any signs of stress or disease. The result: a healthy orchid.